Showing posts with label foundation. Show all posts

Monday, May 23, 2011

CVS Clearance Haul

Woo hooo I love clearance, and spending money I HONESTLY do not have!
Oh well, deal with what happens tomorrow...tomorrow!

I just can't help myself when I see that 50-75% off sticker! It's heaven<3

Here's what I picked up!


-Almay "One Coat Dial Up" Blackest Black (Orig. $8.49)
PAID: $2.12
- Revlon Age Defying Foundation in Light Medium (Orig. $14.29)
PAID: $3.57
- L'Oreal Visible Lift Under Eye Concealer in Fair (Orig. $12.29)
PAID: $3.07

- Essie "Sand Tropez" (Orig. $8.29)
PAID: $4.15
- Wet n wild "Glitz" (Orig. $1.99)
PAID: $.99
- Wet n wild "Bird Bath" (Regular Price $1.99)
- Sally Hansen "Hi- Def 04" (Orig. $6.99)
PAID: $1.75

I spent about $18.60 for everything.

Monday, April 25, 2011

Skin Deep


I'm not sure whether its the pale Irish skin that has always been my downfall, but for as long as I can remember my skin has been sensitive, very dry and red. While people always complimented me on my "rosy cheeks" they were always a source of embarrassment and resulted in a dip in my confidence.

Now, this may be seen as a slight overreaction, but I used to dread going out at night, even out to restaurants because I knew they would be warm and my face would become tomato red. This is why, for years I have always opted for a medium to heavy coverage - not because I had bad skin, quite the opposite I have always had reasonably good skin, but because I feared people commenting on how red my face was.

I have used countless products to try to counteract the redness of my face, green primers, green concealers, the list goes on. And none of them worked. It was only when I went into a Chanel counter a few months ago that I realised my skin wasn't going to change, but that my attitude needed to. The woman on the counter almost flat out refused to sell me Mat Lumiere because she insisted, like so many makeup artists before her, that my skin was too good and shouldn't be covered up.

Its only literally over the last few months that I have come around to that way of thinking. No matter how well I take care of my skin, it will always have high colouring and instead of caking it with lots of coverage, I'm going to wear the coverage it needs. A week or so ago, I bought Chanel's Pro Lumiere, which is to be discontinued. Typical. This light coverage foundation not only gives me a dewy glow that lasts all day, but makes the best out of my skin.

While it may not block out all of the colour, it gives a beautiful sheen to the skin and has made me realise its not that red. Don't get me wrong, I would never wear it on a night out or much during the Winter; but for the Summer months when the weather is beautiful and the tan is building, Chanel Pro Lumiere is the perfect foundation for me. It looks well, it gives a beautiful coverage and it gives me the confidence to walk around with my head held high.

And then they go and discontinue it. Boohiss.

Sunday, April 3, 2011

Sigma Flat Top Kabuki


I was kindly sent the Sigma Flat Top Synthetic Kabuki F80 for review about two weeks ago. While I have a few different foundation brushes, nothing I own is similar to this type. I have used it everyday since I received it and I really love it.

What they say:

This exclusive flat top synthetic kabuki was designed to deliver a flawless makeup application. The Sigma Makeup F80 is a buffer brush that can be used to blend powder or liquid products. The short and dense bristles make it easy to buff your liquid foundation. The long handle adds comfort to your makeup application. The synthetic fibers are ideal to be used with liquid products and can be easily cleaned. Made of Synthetic Sigmax HD filament.


What I say:

The first few days I used this brush I received so many compliments on what my friends called my flawless skin. I used the brush with my YSL Teint Resist foundation and it worked a treat. It gently buffs the product into the skin, providing an almost airbrushed effect. The bristles are so soft and there was no shedding when I washed it over the course of the two weeks.

However, there were a few negatives I found while using this brush. The first was that when I washed it, I could never seem to get the centre of it perfectly clean no matter how hard I tried. While I know myself the brush was clean after washing, the tiny foundation stain in the middle of the brush drove me slightly crazy. And second, less importantly, it takes a lot longer to dry than my other brushes. This is because of how dense it is, and isn't particularly annoying but means that it should be washed the night before using it again.


After washing

I do really like this brush, though, and it has definitely replaced any other foundation brush I had used previously. Its soft, the handle is easy to work with and it creates a flawless, airbrushed base. I have never tried any other Sigma brushes, but am certainly tempted after having used this one!

Sunday, March 6, 2011

Review- Annabelle SkinTrue Foundation


Truly flawless, natural-looking skin is what you can expect from this foundation. Its soft, matte finish makes you feel like you're wearing nothing at all, just beautiful skin. It blends easily to even out the skin tone yet feels extremely light and natural.
Thanks to its vitamin A, C and E enriched formula, it protects skin from free radicals, while the aloe, green tea and camomile provide it with nourishing, calming and moisturizing ingredients. - Annabelle Website

I must say this is my most favorite foundation that I've ever wore! I matches my skin perfectly, and doesn't enhance my dry skin. There are just so many positive things about this foundation! I don't break out if I leave it on all night, natural looking finish, and most of all not really expensive! I bought it for $7.99!

My Rating (Scale 1-5 1-the worst, 5-the best)
Quality- 5
Packaging- 4 - Wish it was a pump
How long does it stay on- all day
Would I buy it again- Yes!
Price- $7.99 and up (depends on where you find it)
Overall- I love this foundation! One of the best for sure!
Where to buy- Drugstore, department store

Saturday, January 1, 2011

Comparison: Bare Minerals vs. Maybelline Mineral Power foundations

So, prior to using Bare Minerals I was using Maybelline's Mineral Power powder foundation (I've talked about it briefly here and here).  I really love that foundation- using it made me realize that I like mineral powder foundations so much more than liquids or creams.  It is SO easy to apply and I love the lighter feel of it.  Now, I do wish I could say I've tried more drugstore powder foundations, but I haven't.  I knew I liked Maybelline's so I kept returning to it.
Anyway, the transition to Bare Minerals was much-needed in my mind.  I wanted to try something new!  And after using this foundation for a few days, I decided I should compare it to my old favorite Maybelline Mineral Power.  Thus, I give you this post.  :)

Left: Maybelline Mineral Power foundation, Right: Bare Minerals foundation

Packaging: I'm no department store makeup "snob" whatsoever, so plastic packaging never bothered me.  I don't need it to feel luxurious if it works well.  The Maybelline container is definitely plastic and rather lightweight, but the sifter works well- I've never had a problem with too much product coming out.  Usually I lightly shake it (cap screwed on) a few times per application; it's enough for my entire face.  Switching to Bare Minerals, though, and I definitely see the difference in packaging.  The container is heavier/feels sturdier, and overall looks more expensive.  Still not a huge deal to me.  The cool part is in the sifter- there's a cover that "locks" into place over the holes so when you throw it in your bag or travel, foundation doesn't leak out of the compartment.  I really like this!

Price/quantity: The Maybelline foundation is about $8, while Bare Minerals normal-sized foundation is $25 on its own (this is for the original finish- the matte goes for $28).  They are the same size, 0.28oz, which lasts quite awhile.

Finish/coverage: I get more of a matte, medium coverage with the Maybelline foundation.  Despite it being quite matte, it does give my skin a nice "glow" that I really like (typically I wouldn't go for something matte).  It covers up my redness and acne spots that I don't really need concealer unless I have a bad pimple I want to hide.  I love this.  If I can eliminate one step of my face makeup routine, then I'm all for it!
The Bare Minerals original formula gives me a lighter, more glowy finish.  Definitely not matte, which I actually like.  I find that I probably do need some kind of concealer using this.  This week I've been lazy and just been dabbing the Bare Minerals concealer brush into the foundation and using this to cover my acne spots.  It works quite well, but it doesn't last throughout the day.  I'd definitely reach for my Maybelline Double Face Perfector concealer for something more long-wearing.

Colors: In the Maybelline Mineral Power foundation, I wear the shade "Light 2- Classic Ivory".  This is almost perfect for me no matter what season it is/how my skin tone changes.  I have "Fairly Medium" in the Bare Minerals original foundation.  It's perfect for me now since I'm lighter in the winter, so I'm curious to see if it still works in the spring once I go outside again.  I worry it'll be too light, but we'll see- I'm sure it will probably be fine.


I hope you can tell from this picture the difference in shades/finishes.  They are really, really close when comparing them in the jars.  When I swatch them, I notice that the Bare Minerals is a touch lighter and has more of a luminous finish than the Maybelline.  It also looks to have more pink undertones and feels lighter.

Wear quality: I get similar wear-time for both of these, and only start noticing them wearing away in the late afternoon/early evening.  I notice it on my chin/above my lips, where my acne scars are, which leads me to believe that I really just need a better concealer.  My cheeks/forehead area/rest of my face, where I have some redness and random spots, stay covered and even just fine.  Now, my sister says on her oilier skin, Bare Minerals starts to wear away during the afternoon and that's her only complaint.  I haven't experienced this yet.

Overall: These really aren't dupes for each other, because they have different finishes and coverages.  The similarities end at the colors and sizes.  But I think the Maybelline Mineral Power foundation is still a good alternative to other high-end mineral powder foundations if you're on a budget.  I'm really happy to have Bare Minerals, though- I think it's better suited for my skin-type and gives me more of a glow that I like.

Have you tried either of these?  Agree/disagree with what I've said?  I'd love to know! :)

Thursday, December 30, 2010

Bare Minerals- My initial thoughts (Prepare for a long one!)

Hey everyone!
First off, I'm sorry this is so late.  I meant to have it up the day or two after Christmas, but a couple things ended up getting in the way: 1) I realized I wanted to do a little comparison between the Bare Minerals and my Maybelline Mineral Power powder foundation, and 2) we went out of town for a few days.  I'm home now, though, so I wanted to share this with you ASAP!

My sister got me the Bare Minerals 8-piece customizable starter kit for Christmas, which gives you:
-the choice of one full-sized foundation (0.28oz, either matte or original finish) in your shade
-a smaller sized Mineral Veil (0.07oz)
-Warmth all-over color (0.05oz)
-Full Flawless Face brush
-Flawless Application Face brush
-Maximum Coverage Concealer brush
-mini-sized Prime Time foundation primer (0.5oz),
It also comes with a DVD that explains everything about the makeup, which I haven't watched yet.

I suggested her just getting me the full-sized foundation and Mineral Veil, but she surprised me with this.  She really loves the concealer brush and wanted me to be able to try it, too.
For this review I'm just going to go over each individual product and tell you what I think about them so far.


The brushes:
Top to bottom: Full Flawless face brush (what you use to 'buff' in the foundation), Flawless Application face brush (for Mineral Veil/other powders), Maximum Coverage concealer brush


I'm not sure if when you buy the brushes individually the handles are longer, but these brushes are all travel-sized.  The Full Flawless face brush (I'll just call it the foundation brush) is about the length of my entire hand laid flat.  The powder brush is the smallest in length, with the concealer brush being skinnier and just a little longer.  
Now, I had heard these brushes were on the scratchier side from brush comparison posts I'd read.  For other powder foundation/powder product applications I use my EcoTools Bamboo Bronzer brush, which is one of the softest things I've ever felt.  Comparing the two brands, these are definitely scratchier, however they aren't overly so and I do like the way they work.  My EcoTools brush IS great for buffing in powder foundation, but it's a pain to travel with and for other powders, it buffs them in too much.  It's perfect for when I need  a light application of bronzer, but not when I want high pigmentation.  
I really like how the Bare Minerals powder brush applies things like highlighters.  I just got the MAC Too Chic beauty powder (post coming soon!), and it actually shows up well as compared to when I use my EcoTools Bamboo Bronzer brush, which buffs it in too much.
The concealer brush is a new favorite!  My sister was right.  Now, I've never really used a brush for concealer, but my sister told me she uses a lighter shade of Bare Minerals as a spot concealer and loves this brush for it.  I've been using mine in the same way and this brush works really well.  

The Products
Left: travel-sized Prime Time, Right: Fairly Medium foundation (Original SPF 15 finish)

Left: Original Mineral Veil (0.07oz), Right: Warmth all-over color (0.05oz)

The foundation: I tried the Fairly Medium shade along my jawline while at Sephora, and I thought it would be a perfect match.  However, I've used it a few times and I'm going to go back today and see if I can do a darker shade.  It's not terribly light, but I know as soon as spring comes I'll get darker and I'll need to rely on bronzer.  
As far as the formula goes, I love it.  Keep in mind my skin is normal-dry and sensitive, and for foundation I look for something light-medium coverage, mainly to cover up mild redness and acne spots.  This evens out my skin tone perfectly and gives my skin a nice "glow", especially after using the Mineral Veil.  It doesn't cover up my acne spots enough, which is why I use the concealer brush to dab it over them.  The one downside is that this doesn't last all day- you'd need a fuller coverage concealer if you care more about the staying power. 

Prime Time: The only primer-type of product I've tried is the Monistat Anti-Chafing gel.  I've never really felt the need for a primer, though, so I didn't use it very much.  I've been using Prime Time since I got this set, and so far I like it.  I'm kind of basing this off of what my sister has told me her problems are with Bare Minerals- that it doesn't last all day on her oilier skin.  I think using Prime Time would really benefit her over me.  I have no problems with the foundation wearing all day on me since I've been using this.  However, it doesn't make my skin feel oily/greasy which I like.

Original Mineral Veil: I've heard so many raves about this product, so I was so interested in trying this! It's translucent, but it does give your skin a little extra "something", and nicely finishes the foundation.  The only thing I worry about is it leaving the smallest white cast- I usually wear some kind of bronzer highlighter on top of it so I haven't noticed it yet, but I also haven't really taken pictures or anything since using it.

Warmth All-Over Face Color: Dislike.  It's definitely too dark for my skin tone (I'm sorry I forgot to swatch this, I can do that if anyone would like!).  It's hard to buff in and makes my cheeks look reddish, which is one of the primary reasons I wear face makeup at all.  This is probably because it's too dark for me, but anyway, it will probably go in the trash or to my friend who's darker.  

Overall: I really like Bare Minerals and I'm so happy my sister got it for me to try.  It's perfect for someone like me, who wants something lightweight and easy.  This set is really nice because it allows you to try out all their top-selling products- unfortunately for me, the Warmth color will go unused, but I think anyone darker will find it works better (I'm around a MAC NC25 for reference).  Otherwise, I love the foundation, Prime Time, and Mineral Veil, as well as the brushes (even though they aren't as soft as my EcoTools).  They work really well and are SO convenient to travel with!

Whew!  I was going to include a comparison to my Maybelline Mineral Power powder foundation too, but seeing how long this is I'll save it for another post.  
Hope this is helpful for any of you considering Bare Minerals! 

Thursday, December 23, 2010

e.l.f Studio Tinted Moisturizer review


Nude
From e.l.f's website
This lightweight and hydrating formula is breathable and provides anti-aging sun protection with UVA/UVB SPF 20. Achieve even skin tone and naturally radiant skin with this moisturizing sheer tint of color. The smooth formula enhances your complexion with the nourishing key ingredients Aloe, Cucumber and Vitamins A, C & E.

Left to Right- Porcelain, nude, beige, sand, almond, mocha, espresso
This moisturizer is perfect for mature skin, those who don't like wearing alot of coverage.
The color matches really good with my natural color, but I don't like it because I have blotchy skin and acne on my chin. So it doesn't do much for me.
It doesn't leave my skin oily, but my dry patches around my nose really come out, even with a moisturizer underneath.
But overall this is a great product for a sheer look.
When I opened my packaging the clear window was empty. I had to shake it. So you don't even get a full container of product, maybe only half. Which is a bummer.

My rating (scale 1-5 1- the worst, 5- the best)
Quality- 4.5
Packaging- 3
How long does it stay on- 3.5
Would I buy it again- maybe once my skin clears up, or for makeup on mature skin
Price $3 USD
Overall- It is a nice product with a SPF 20 which is great for the summer months, but if you want more coverage I would waste your time buying this.
Where to buy- e.l.f Canada/USA 

Tuesday, December 14, 2010

e.l.f Flawless finish foundation review

I must say out of all the foundations that I used, this one is by far the best! For $6!!!
The coverage is amazing! I don't have the perfect skin, and this does wonders. Covers all my red spots, and my blackheads. It doesn't settle into my 'crows feet' either which is great. You can't tell that I have dry spots, or a oily T-Zone.

Sand
These are the colors from e.l.f's website Left to Right. Porcelain, Sand, Buff, Caramel, Almond, Coco
I love that it has a pump and not a squeeze tube. I just love this foundation!!

My rating
5 out of 5
I would definitely buy this again

Thursday, November 25, 2010

Applying Foundation and Types


Benefits of applying foundation are:
-cover imperfections
-give the appearance of flawless skin
-helps conceal open pores
-hide little pimples and discoloration
-even skin tone
-covers blemishes
-protect the skin from the sun and environmental pollutants
-give a smooth, matte finish
-give a smooth texture to skin
-reduce shin
-cover dark circles under the eyes

There are many foundations on the market, liquid, powder, mousse, stick.

Liquid-
Appropriate for all skin types
Good for dry, sensitive skin
Good coverage
Provides natural look


Powder-
Appropriate for combination and oily skin
Good coverage to blemishes, pimples, marks, spots
Applied dry or wet with a sponge


Mousse-
Combination of liquid and a powder foundation
Appropriate for older skin
Good coverage
Settles into fine lines


Stick-
Appropriate for normal to dry skin
Acts like a concealer
Precise application and even touch ups


How to apply foundation
Step 1
Cleanse and tone skin
Step 2
Moisturize your skin
Step 3
Use concealer (you can use before or after foundation)
Step 4
Application, best way is with your finger tips, sponge or brush
Step 5
Apply in the center of you face
Step 6
Blend outwards, don't forget to apply foundation to your neck, you don't want a mask or look unnatural
Step 7
Set foundation, apply a loose powder, Dab the brush all over you face, then stroke evenly over face.

Wednesday, November 24, 2010

Foundation Tutorial

Here is a quick way to apply your foundation. Always start with a moisturized face. Use what products you have.


Enjoy!

Tuesday, November 23, 2010

Find your Foundation Color

Finding the right shade of foundation is important, you don't want to be walking around outside with a dark makeup line across your neck. Here are some tips to help you.

1. Go to your favorite department store cosmetic counter, or favorite drugstore.
2. Shop with a clean, moisturized face.
3. Always use the SAMPLES. Test it correctly on your neck/chest area, you want your face to blend into your neck. You want the color to 'dissapear' into your skin.
4. Pick a color you think you are then pick two additional shades one lighter and one darker.
5. To get the best result of your shade, go outside if your with someone ask them if they can 'see' the foundation. You don't want it to be bright orange, yellow etc.
6. If you're unsure of a color go lighter- never darker. You can always apply bronzer
7. If you find a color that suits you- BUY IT!

Thursday, November 11, 2010

Review: Laura Mercier Creme Smooth Foundation


It can withstand rain, wind and I would even bet gail forces..This is not a car or plane I speak of but Laura Mercier's new Créme Smooth Foundation. This is a brand I tend to overlook, love their products but never seem to buy them. Not anymore!

I have always had a flighty relationship with foundations, proclaiming one to be the perfect concoction and then realising its flaws soon afterwards. However, after almost two weeks of this foundation, I'm in love with it and I don't think I want to change it.

I went to my local Laura Mericer counter with the idea of buying the mineral powder foundation, but as I have dry skin was forced to consider this new formula. Thank God, I did.

What they say:

Laura created this modern, lightweight foundation that floats over skin without visibly settling into fine lines. The hydrating formula includes a multipeptide complex infused with Dermaxyl and advanced optical diffusers that help to visibly smooth out lines and wrinkles.

What I say:

Don't let the formula in the gar fool you, when I first saw it I thought I would end up looking like a cakey mess. However it really is lightweight, but provides the perfect amount of coverage; enough to cover imperfections but not make you look like Jordan on a bad day. You need only a pea-sized amount of product all over the face as it blends so well and you use your fingers to lightly apply it to the face. Not only does it leave the skin with a truly flawless coverage, but it definitely keeps it hydrated throughout the day.

I have had this problem with other foundations, where my skin feels tight and I feel the need to moisturise and reapply the foundation. With this Laura Mercier one, it feels as if nothing is being worn and the skin is moisturised all day. And it lasts, all day long.

I would not recommend this product for oily skin, as it's main aim is to hydrate; but any other skin type would benefit from its usage. Now, it is expensive; 60euro/£50 but the amount used each day is so minuscule that it will literally last ages.


I use it together with the Laura Mercier Secret Concealer, which I apply with a small concealer brush to the under eye area. Like the Créme Smooth Foundation it is so soft and lasts the whole day on my face.


Step 1: Apply concealer to inner eye are with concealer brush
Step 2: Blend with ring finger
Step 3: Bright eyes


Have you tried this foundation/concealer?

My Youtube

Monday, November 1, 2010

MAC Blot Powder

Hello ladies!

Two posts, two days in a row! Look at me go!

Today it's MAC's pressed blot powder that I'm raving about! I've found that my Coastal scents silica powder isn't as effective anymore, perhaps my skin has gotten used to it or something. So I needed a new setting powder. Voila... MAC Blot Power in Light.


It comes with a handy little puff, too! It goes on translucent, way less "white" than my silica powder, which is great. This does have silica in it as well, but it's not 100% silica like the CS and MUFE HD powders.

Using this... wow. I'm the "matte-est" I've ever been for the longest period of time. Honestly. I'm un-shiny/oily/gross almost allllllllll day! And for those girlies with glasses, it helps keep my liquid foundation from smudging on the nose where the glasses sit! Bonus!

This was a little bit expensive, $27 CDN plus tax, but I have a feeling it's going to be worth it! I love that I can just toss it in my purse and be good to go.

Questions? Lemme know!

xox
Chloe

Tuesday, September 21, 2010

New Foundation..(s)?


YSL Teint Resist, as much as I love it, is a summer foundation for me. Its beautiful, but doesn't hold the coverage I need the winter months (red nose, cheeks and all!). I've run out of my "winter foundation" too. This is either Nars Sheer Glow, Armani or Benefit Playstick.

As I've just started college, I don't have the money or time at the moment to buy a new one. I know, awful. So, here's what my plan has been for the last few days.

When I bought Nars Sheer Glow a few months ago, I was in a massive rush and left the colour allocation to the woman working at the counter. Big Mistake. When I got home and opened it, I realised that it was so light and pasty on me. I looked it up on the Nars website, Siberia..the lightest shade. I'm not that pale.


I had an old MAC dark foundation that I never used, also a wrong make up counter woman. Studio Fix NW25. Epic plan came to my mind and I've been mixing them over the last few days. The coverage is perfect, lasts all day and is a great colour.


Do you mix your foundation? Which is your favourite? x

Saturday, September 11, 2010

Maybelline Dream Smooth Mousse foundation

Happy birthday to me....!   Haha.  Finally!  It feels like I've been waiting/anticipating my 19th birthday for a long time.  My friends are going to a school thing during the day today, but later we're going to a really amazing true Chicago-style pizza place.  Yum.

Anyway, the Maybelline Dream Smooth Mousse foundation was one I heard both good and "meh" reviews about.  I really had no intention of buying it, especially since I'm not too into foundation, but I found it on clearance at Walgreens for $4.99 this week and decided to try it.  Besides, I've been curious about this line ever since Maybelline came out with it.

I'm actually coming around to it quite a bit!  I was going to do a full review on it, but decided against it.  I've said time and time again that I'm not keen on foundations, so I don't consider myself "qualified" to write you a review of this.  I thought instead I'd just give you a run-down of what I like/dislike about it.

So enough talking, let's begin!


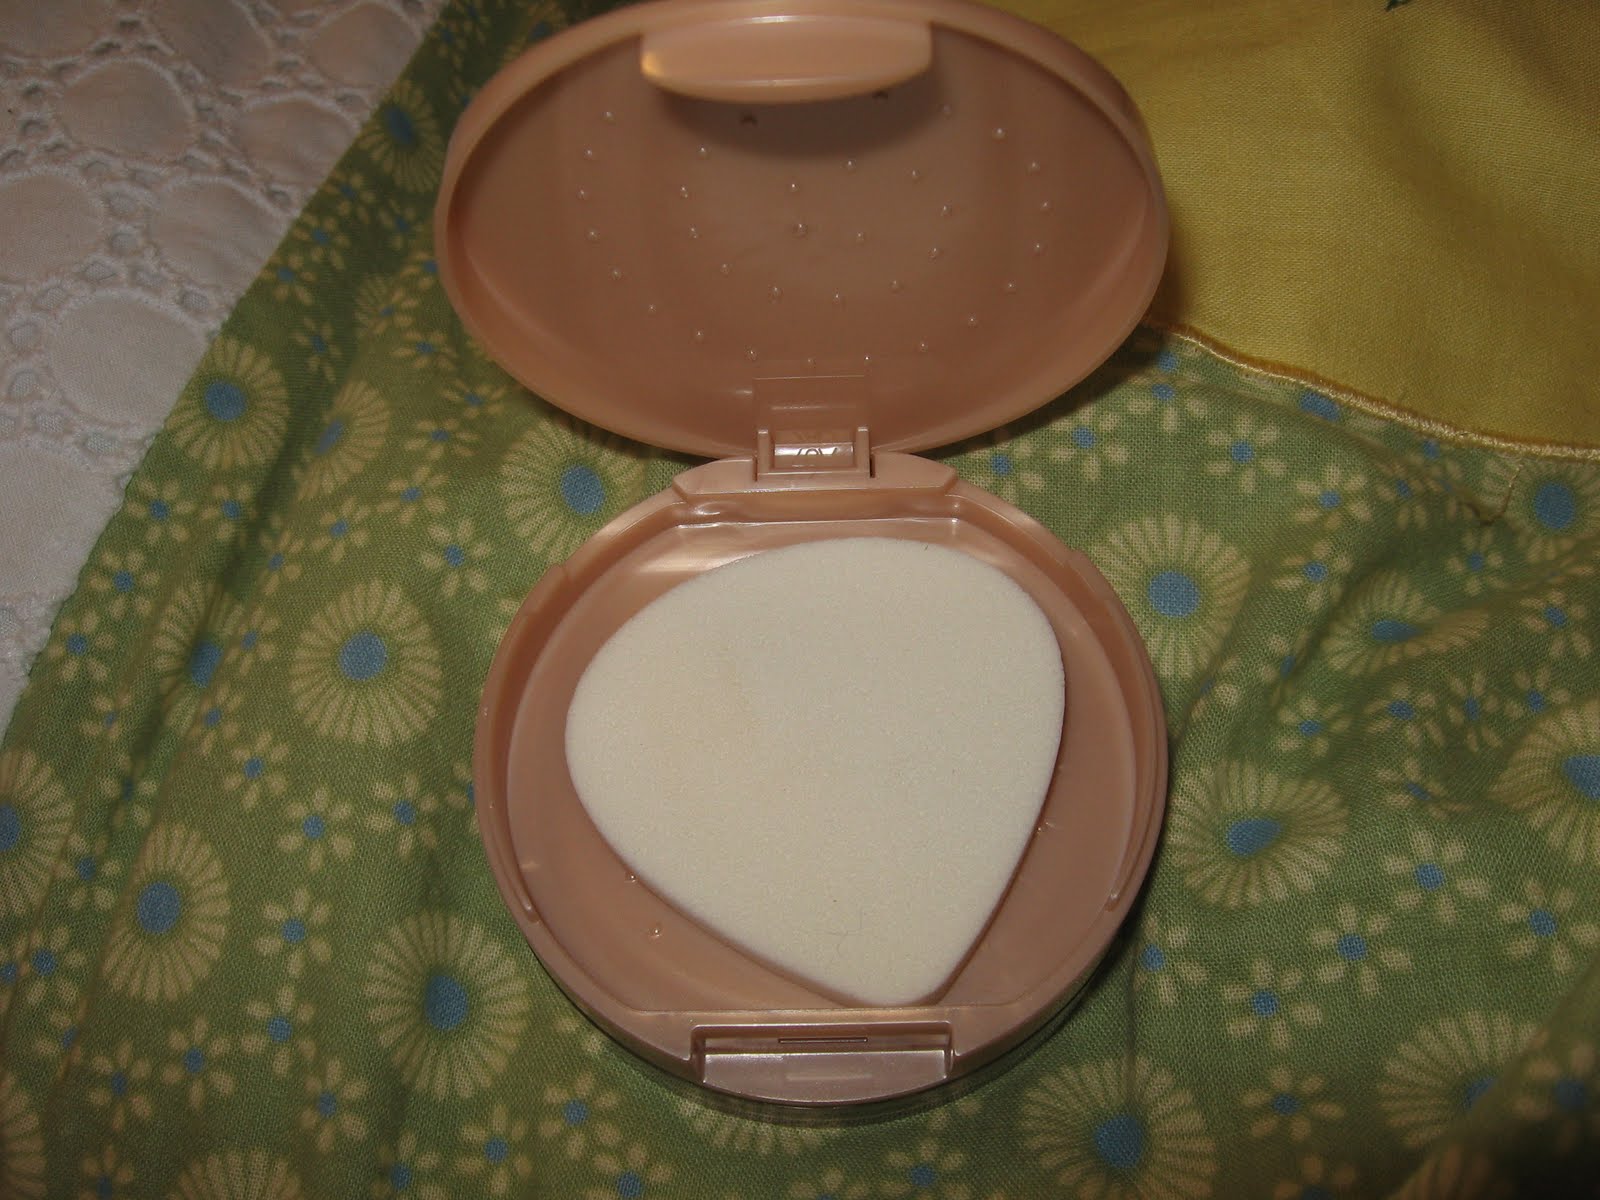
The packaging is a little bulky IMO; it's a thick plastic jar with a top that lifts up to reveal the sponge applicator.  You have to unscrew the lid to get to the foundation.

I got mine in the color 200 Creamy Natural.  It's kind of hard to tell what the color looks like from the jar (As in when you're in the store), and after looking at the shades available online I was surprised to find this was 3 away from the lightest shade.  Anyway, it looks a lot darker in the pan than it does on my skin, but's actually a pretty close match for me (Which was hard to believe- I thought I was lighter than this!).

Anyway, here is a swatch of the product- one light swipe of my finger.  You can tell how pigmented this stuff is:

It has that awesome mousse consistency that I wanted to try so badly!  Now, I haven't tried many medium-full coverage foundations, but I'd say this lies within the light to more medium range and is pretty buildable.  Does that sound about right?  

I used my ELF Studio powder brush to apply it, and was able to use a small amount for a fairly light application.  This is great for me because I hate foundations that 1) feel like you have makeup on, and 2) look like you have it on.  I'm trying to just get used to having more than powder on my face, too.  This has been fairly easy to get used to so far.

Here's a picture of what it looks like on me, after applying powder:

I'm just thankful that it gives me pretty natural-looking coverage.
I do notice a little fading at the end of the day, however I was doing comparisons after my gym workout, so maybe I should have checked how it looked before sweating!  I did read that this was a problem for some people though.

I'm going to keep using this for awhile, especially since I've been breaking out more and need heavier coverage than I used to. 

Have you tried this, or are you using it currently?  What are your thoughts on it?  Feel free to expand in the comments!